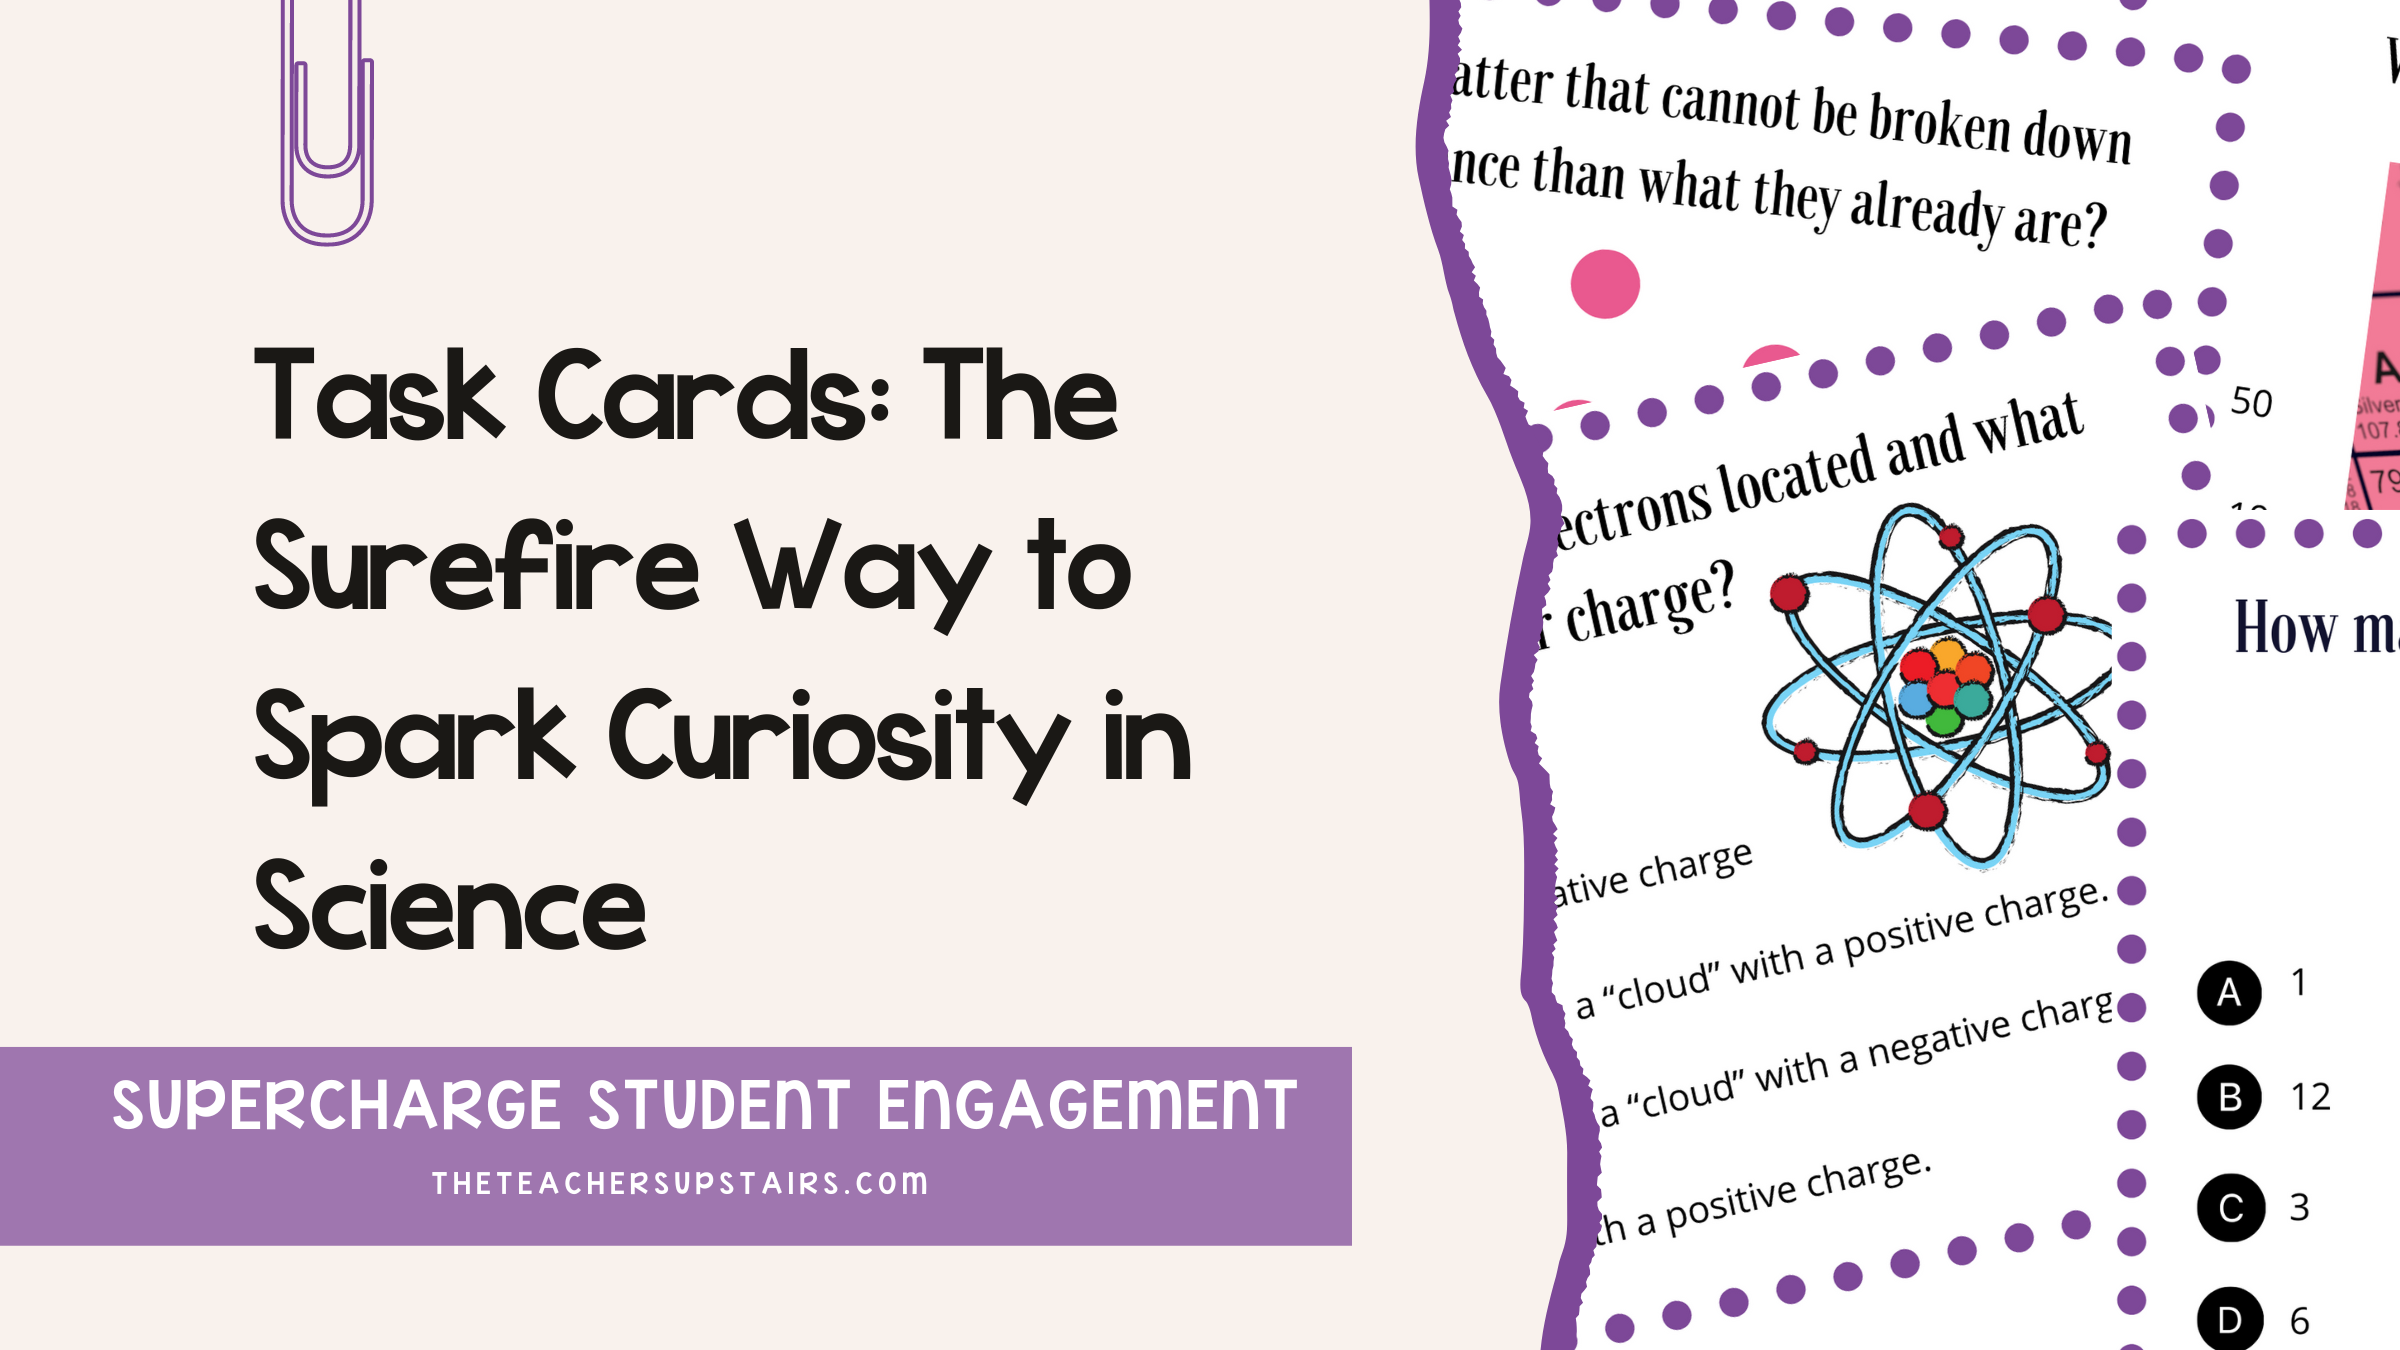
Are you looking for a surefire way to ignite the spark of curiosity in your middle school science classroom? Look no further than task cards, as they will become your secret weapon for supercharging student engagement!
Before we dive in, are you wondering how to spice up your lessons without wasting hours on the web? Say hello to “The Ultimate Guide of Online Resources for Teaching Science!” No more endless scrolling for the perfect lab or video! We’ve done the research for you. Not only that, but we’ve handpicked the best NGSS-aligned sites so you can teach with confidence and stay ahead of the game! Grab your FREE guide here.
In today’s fast-paced teaching environment, we understand how valuable your time is. That’s why we’re here to help you discover the magic of task cards. These versatile tools are like little nuggets of educational gold, designed to make your life easier and your science lessons more captivating.
Imagine this: Your students are not just passive listeners; they’re actively involved in the learning process. With task cards, you can transform your classroom into an interactive haven of scientific exploration.
But how, you ask? Let’s delve deep into the world of task cards, showing you not just why they’re essential but also how to use them effectively to create a classroom where every student is excited to learn.
Science Made Fun: Exploring the Benefits of Task Cards
Middle school can be quite a challenging time, with hormonal changes and distractions aplenty. Luckily, we’ve got a fantastic strategy to boost classroom engagement: Task Cards. These little gems are like the secret sauce of teaching middle school science.
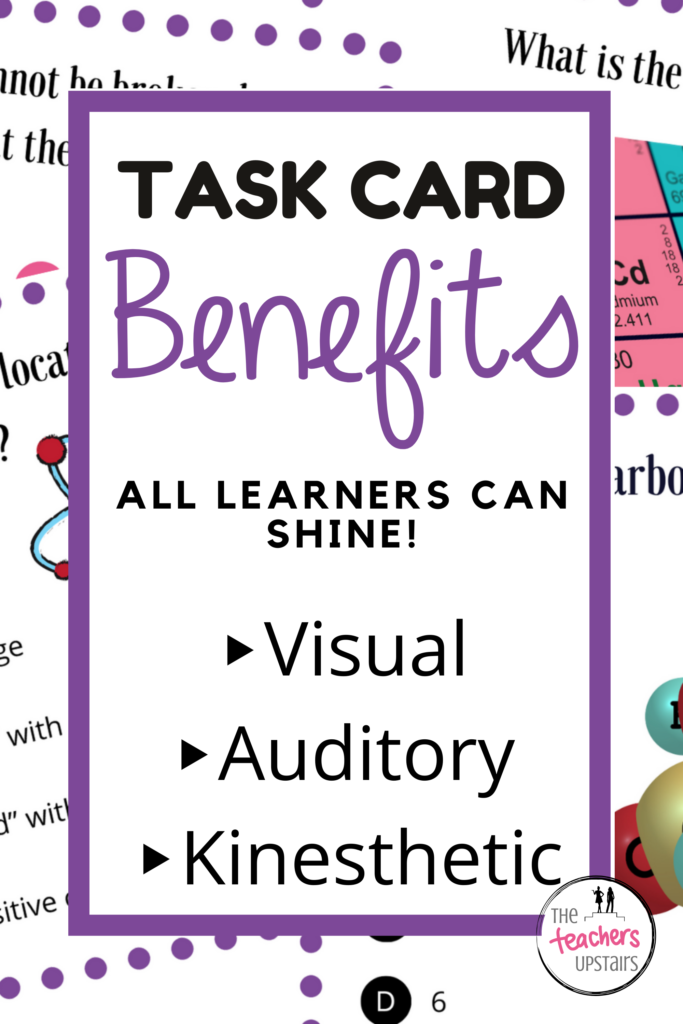
Task cards cater to different learning styles, ensuring that every student has a chance to shine. Visual learners, auditory learners, and kinesthetic learners can all benefit from the variety of tasks presented. Plus, these cards are perfect for collaborative activities, promoting teamwork and social engagement. So, whether your goal is to reinforce key concepts, encourage critical thinking, or simply make learning enjoyable, task cards are your trusty sidekick in the middle school science classroom.
3 Simple Ways to Introduce Science Task Cards to Your Students
Introducing task cards to your middle school students can be a breeze. Here are some easy ways to do it:
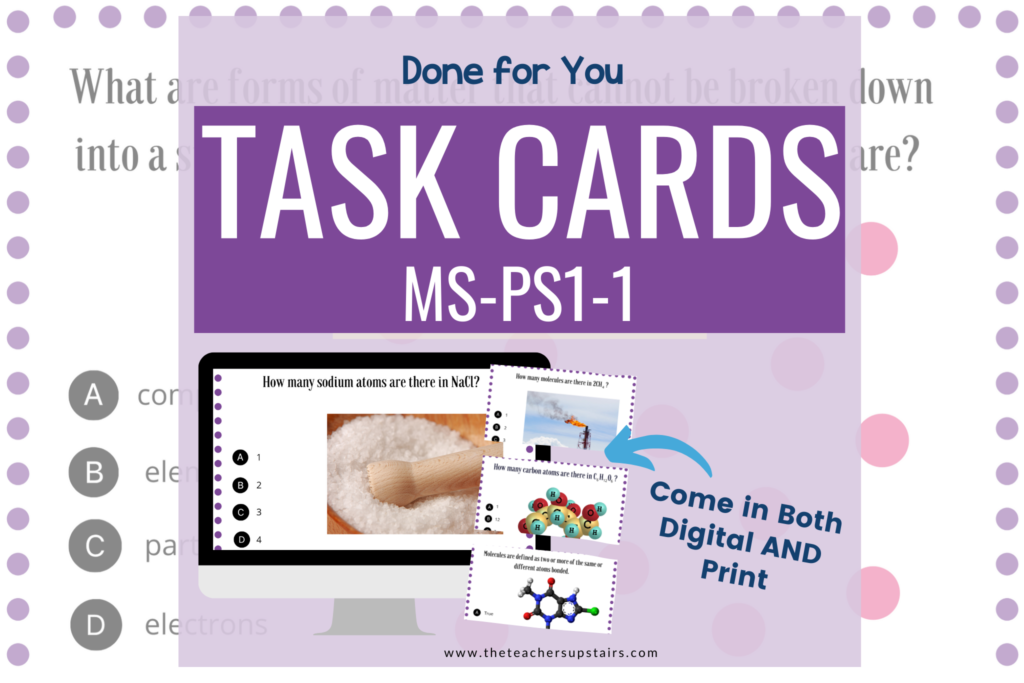
- Introduce the task Cards: Task cards are a set of small cards, typically containing questions or tasks, designed to facilitate active learning. Show students what the task cards look like, and the different forms they may come in (label a diagram, multiple choice answer, complete a concept map, draw a diagram), etc.
- Provide clear and concise instructions. Let students know how to use the cards, whether it’s for a review, discussion, or problem-solving.
- Trial Run: For the first time, do a task card activity together as a class. This helps students understand the process and expectations.
Remember, you’re not just introducing task cards; you’re opening a door to a more interactive and enjoyable learning experience. Your students will thank you for it.
12 Different Approaches to Implement Science Task Cards in Your Classroom
While the list of ways to implement task cards can seem a little daunting, your goal is to pick just one way you can implement the cards into your classroom today, in a seamless manner. Once you have your chosen way down, you can choose a different way to use them. For example, start by printing up a set of task cards that pertain to your current unit of study (click here to see our digital and print task cards). Use those task cards as Exit Tickets. Once both you and your students have this method down, use the same set of task cards for a Brain Break. Pick and choose which method you want to try first:
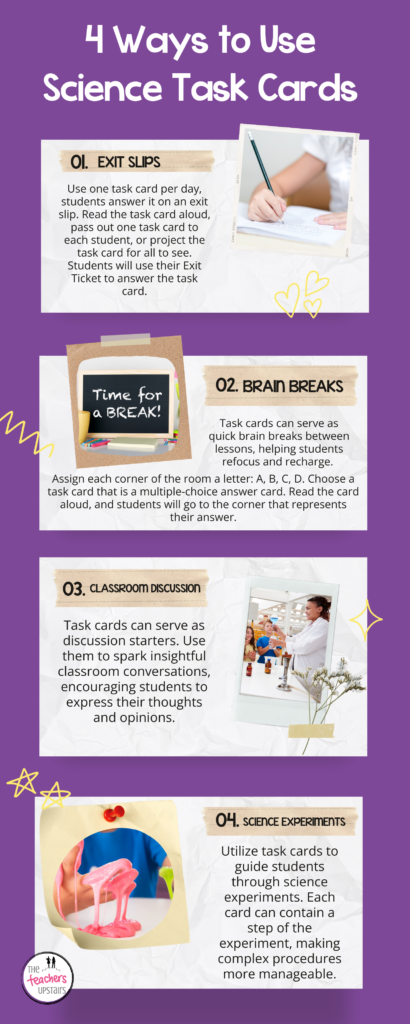
1. Exit slips: Use one task card per day, students answer it on an exit slip. Read the task card aloud, pass out one task card to each student, or project the task card for all to see. Students will use their Exit Ticket to answer the task card.
2. Brain Breaks: Task cards can serve as quick brain breaks between lessons, helping students refocus and recharge. Assign each corner of the room a letter: A, B, C, D. Choose a task card that is a multiple-choice answer card. Read the card aloud, and students will go to the corner that represents their answer.
3. Classroom Discussions: Task cards can serve as discussion starters. Use them to spark insightful classroom conversations, encouraging students to express their thoughts and opinions.
4. Science Experiments: Utilize task cards to guide students through science experiments. Each card can contain a step of the experiment, making complex procedures more manageable.
5. Differentiation: One of the primary benefits of task cards is their ability to support differentiation. They allow you to provide tailored challenges to each student, ensuring that everyone is appropriately challenged.
6. Vocabulary Building: Improve students’ science vocabulary by incorporating task cards with word prompts. Encourage them to use these words in sentences or discussions.
7. Transitions: Use science task cards during those unexpected “transition” times such as when a lesson ends early, rainy day lunch schedule, coming back early from a field trip, etc.
8. Group Activities: Task cards are excellent for group activities. Divide students into teams and provide each with a set of cards related to a specific topic. Encourage students to discuss and solve problems collaboratively, enhancing their understanding.
9. Fast Finishers: Fast finishers in your classroom can benefit greatly from task cards, as they provide engaging and purposeful activities to keep these eager learners occupied.
10. Homework: Assign digital task cards, such as ones housed on the Boom Learning™ platform, as homework to reinforce learning outside the classroom. This encourages independent study and self-assessment.
11. Test Prep: Prepare students for standardized tests by creating task card sets that align with the test format and content.
12. Interactive Notebooks: Encourage students to create interactive notebooks using task cards. This helps students organize information and review content. This approach works best for task cards that require students to label and model, fill out a concept map, draw diagrams, and explain a concept. Give students a task card to glue into their journals. Later, students will draw the concept, create a concept map, or write a paragraph to explain the concept below the task card.
8 Crazy Simple Ways to Gamify Your Science Classroom
Gamifying your science classroom with task cards can turn learning into an exciting adventure. By incorporating elements of competition, achievement, and fun, you can captivate your students’ interest in scientific concepts. Leaderboards can be displayed, fostering a sense of accomplishment and encouraging healthy competition. Students can work individually or in teams.
In the gamified science classroom, science task cards become the keys to unlocking knowledge and fueling curiosity, making science an exhilarating journey of discovery. Here are eight ways to gamify your classroom using science task cards:
- SCOOT:
- Set Up Stations: Arrange your task cards with different science questions or challenges at different stations around the classroom. Make sure each station has a task card and space for students.
- Student Rotation: Have your students start at one station with a task card. They’ll answer the question or complete the challenge on that card.
- Time’s Ticking: Set a timer for a reasonable amount of time (e.g., 1-2 minutes) for each station. This adds a sense of excitement and keeps things moving.
- Scoot!: When the timer goes off, students “scoot” to the next station in a clockwise direction. They leave their answers on the previous task card and pick up the new one at the next station.
- Repeat and Review: Continue this rotation until students have visited all the stations. It’s like a mini-adventure through various science topics!
- Discussion Time: After the game, gather your students to discuss the answers and explanations. It’s a great opportunity for peer learning and clarifying doubts.
- Scavenger Hunt:
- Create Task Card Challenges: Design task cards with science questions, puzzles, or challenges related to your curriculum. Each card should have a unique scientific problem or activity.
- Hide the Cards: Place the task cards strategically around your classroom or even outdoors, if possible.
- Instructions and Teams: Divide your students into teams. Provide them with instructions on what they need to find and solve. You can make it a race or a more relaxed, exploratory hunt, depending on your goals.
- Scavenger Hunt Begins: Start the scavenger hunt. Each team searches for the hidden task cards, solves the science challenges, and records their answers.
- Correct Answers Lead the Way: The correct answers on each card can lead teams to the location of the next card. This encourages learning and exploration.
- Review and Discussion: After the hunt, gather your students and review the answers and explanations together.
- Back-to-Back:
- Prepare Task Cards: Create task cards with science questions or challenges related to the science concept. Each card should have a unique question or activity.
- Pair Up Students: Have students pair up, and stand back-to-back, facing away from each other.
- Task Cards: The teacher will read aloud the task card, or project for all to see.
- Set a Timer: Determine a time limit for each round. This could be 1-2 minutes, depending on the complexity of the questions.
- Start the Game: When you say, “Go,” students simultaneously begin answering the task card on their whiteboard. When the time is up, students turn around to show their answers and discuss their answers.
- Switch Partners: After the round ends, students find a new partner.
- Repeat Rounds: Continue this process for several rounds, with students rotating and answering different task card questions each time.
- Review and Discussion: At the end of the game, gather the class and go over the questions and answers. Encourage students to share what they’ve learned.
- Around the Room:
- Prepare Task Cards: Create task cards with science questions, challenges, or vocabulary terms related to your lesson.
- Distribute Task Cards: Place the task cards strategically around the classroom. You can tape them to walls, and doors, or place them on students’ desks.
- Engage and Explore: Instruct students to explore the room and find a task card. When they find one, they should read the question or challenge and work on solving it.
- Peer Interaction: Encourage students to discuss the task cards with their peers. They can collaborate to find answers or share their understanding of the concepts.
- Rotation: After a certain time or when students have completed a task card, have them rotate to find a new one. This ensures that they interact with various topics.
- Review and Discussion: Gather the class after the activity and review the questions, challenges, and solutions as a group. This reinforces learning and clears up any misconceptions.
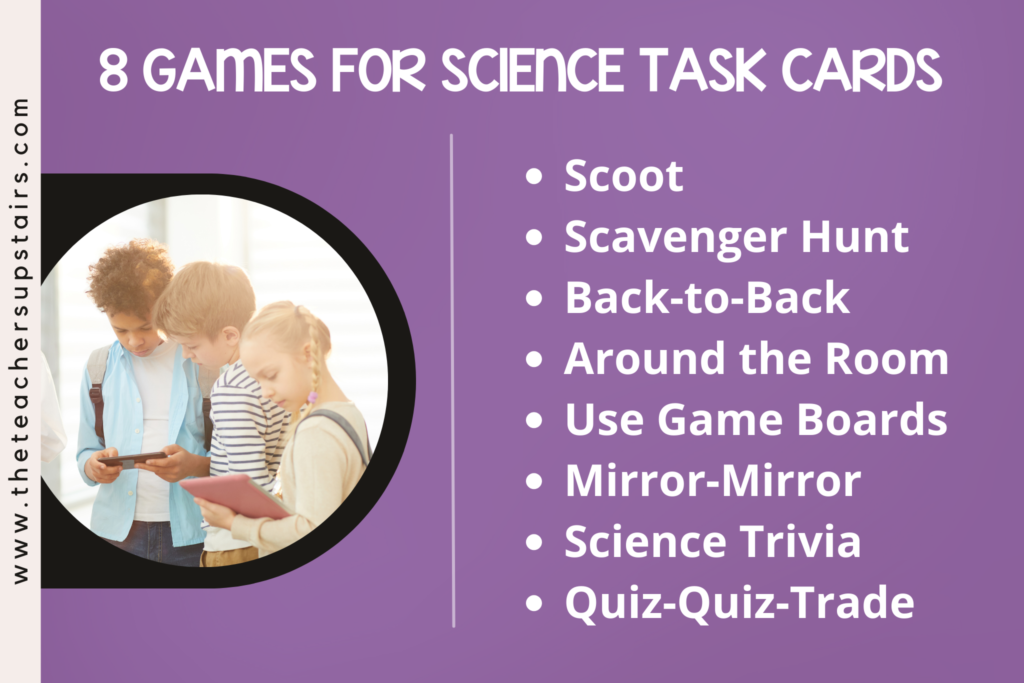
- Game Boards (ie: Candyland™, Checkers™, Jenga™, Connect 4™):
- Preparation: Select or create a board game that suits your class’s grade level and the science topics you want to cover. You can use a standard board game and modify it or create a custom game board related to your curriculum.
- Game Rules: For example, in the game of Jenga™, the student will draw a card and read the question or challenge aloud. If they answer correctly, they get to remove a block. If they answer incorrectly, they may lose a turn or face a penalty, depending on the rules you set.
- Scoring: Students earn points, and the student with the most points at the end wins. If students answer a question correctly, they get a point.
- Discussion: After the game, gather the students for a discussion. Review the answers to the task card questions and use this as an opportunity for further explanation and clarification of scientific concepts.
- Mirror-Mirror:
- Task Card Selection: Choose science task cards that cover the topics you want to review or teach.
- Pair up students: Divide up students into pairs. Each student has a mini whiteboard, marker, and eraser.
- Gameplay: The teacher will read the question or challenge aloud. Partnerships face each other with their whiteboards. The team has a limited time to answer the question, draw the diagram, or create a concept map. Without talking to each other, each partner will answer the task card on their whiteboard. At the end of a specified time period, the student will show their partner their whiteboard. If both whiteboards correctly answered the task card and “mirror” each other, their partnership earned 2 points. If only one of them answers the question correctly, they earn one point, or if neither of them answers correctly, they earn no points. Partnerships keep track of their wins using tally marks in the upper corner of their board.
- Science Trivia:
- Materials Needed: Science task cards, whiteboard, and markers for writing.
- Setup: Divide the class into two or more teams. Each team should have a designated answer board (whiteboard or paper).
- Game Format: Display a science-related question from a task card to the entire class. Teams have a limited time (e.g., 30 seconds) to discuss and write down their answers on their answer boards. When time’s up, each team reveals their answer.
- Award points based on the correctness of their answers. For instance, you can assign 1 point for a correct answer. Keep a scoreboard to track each team’s score.
- Variations: You can introduce bonus rounds where teams can earn extra points with additional challenging questions. Use a timer to keep the game moving at a brisk pace. Encourage discussion and explanation of answers to promote deeper understanding.
- Winner: Continue asking questions and keeping score. The team with the highest score at the end of the game wins.
- Quiz-Quiz-Trade:
- Materials Needed: Science task cards with questions that align with the content you want to review. Ensure that each task card has a question on one side and the answer on the other side.
- Instructions for “Quiz-Quiz-Trade”: Students will pair up and take turns quizzing each other. Each student receives a task card and walks around the room to find a partner. Once they find a partner, they quiz each other by asking the question on their task card. The partner responds with their answer. Students will repeat this step a second time for an additional “quiz.” After both students have quizzed each other, they trade task cards. Students repeat the process with a new partner. Encourage them to interact with as many classmates as possible.
- Monitoring and Engagement: As the teacher, circulate the room to ensure students are actively engaged and accurately answering questions. Provide clarification or guidance if needed.
- Closure: Bring the class back together and have a brief discussion about the key concepts covered during the activity. You can ask a few students to share interesting questions or insights from their interactions.
In Summary…
As shown above, task cards are a versatile educational tool that can revolutionize your teaching approach. By implementing these strategies, you can create an engaging and dynamic learning environment that benefits students of all ages and abilities. Task cards promote active participation, foster critical thinking, and make learning enjoyable.
If you are in need of 100+ science websites for students that will streamline your lesson planning, click here!
Done for You Digital & Print Science Task Cards:
- 3-PS2-3 Non-Contact Forces
- 4-PS3-1 Motion & Speed
- 5-PS1-2 Law of Conservation of Mass
- 5-PS1-3 Chemical & Physical Properties
- MS-PS1-1 Simple Molecules


